Candle Care Resources
-
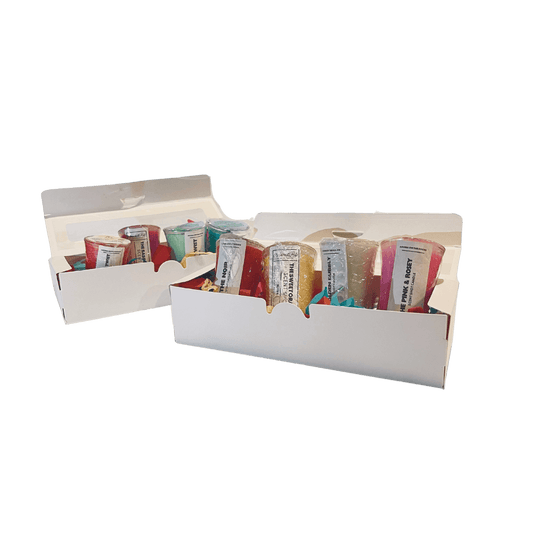
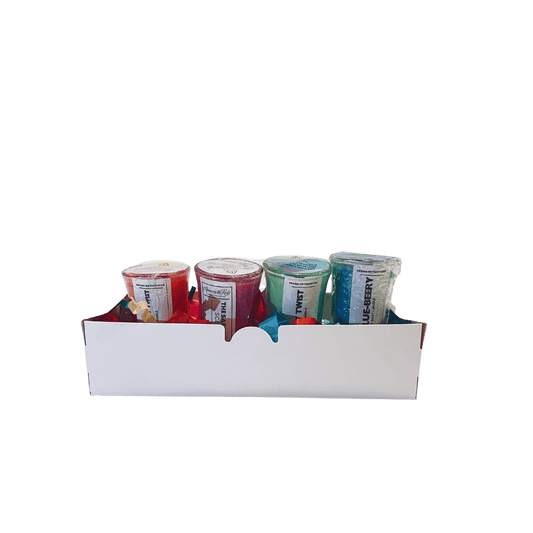
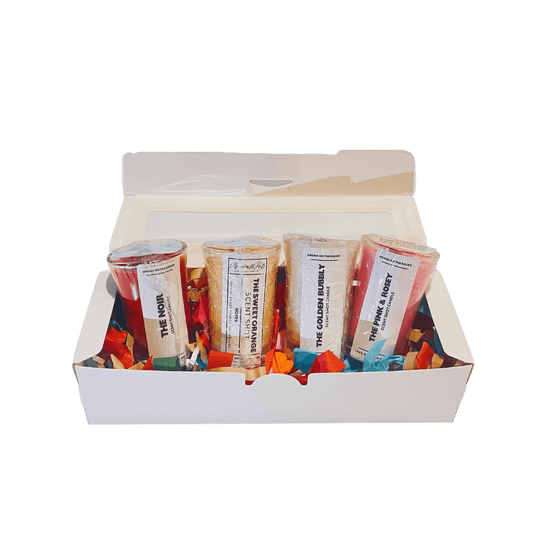
Mocktail Collection Flight Box (Full 8 Scent Set)
Regular price $60.00 USDRegular priceUnit price per$72.00 USDSale price $60.00 USDSale -
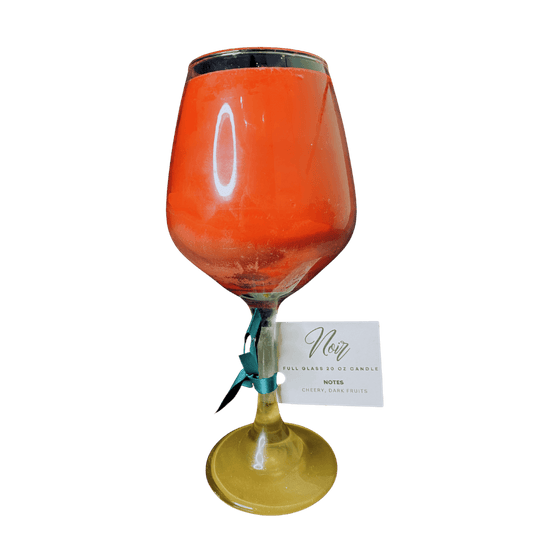
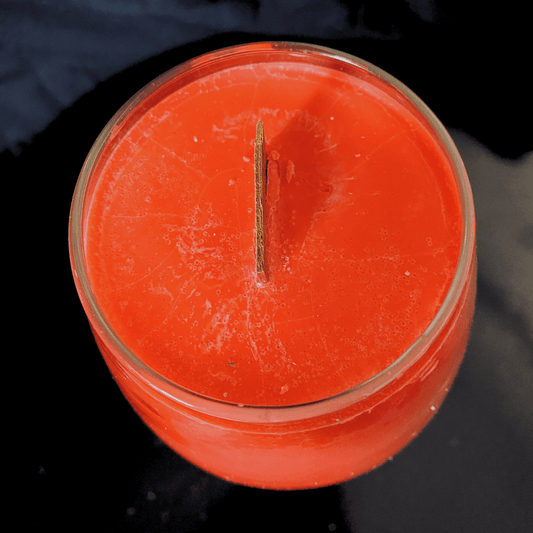
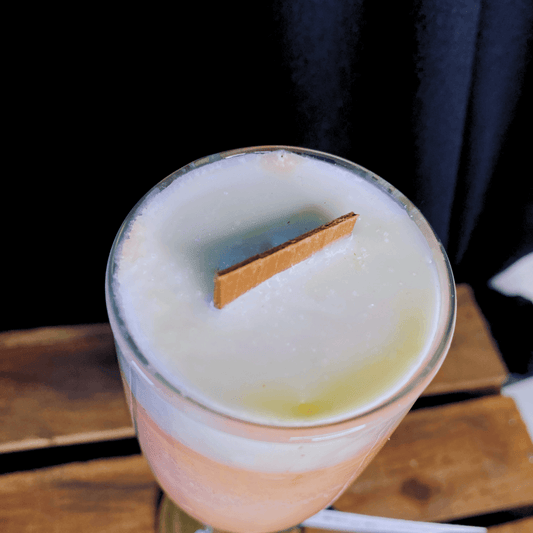
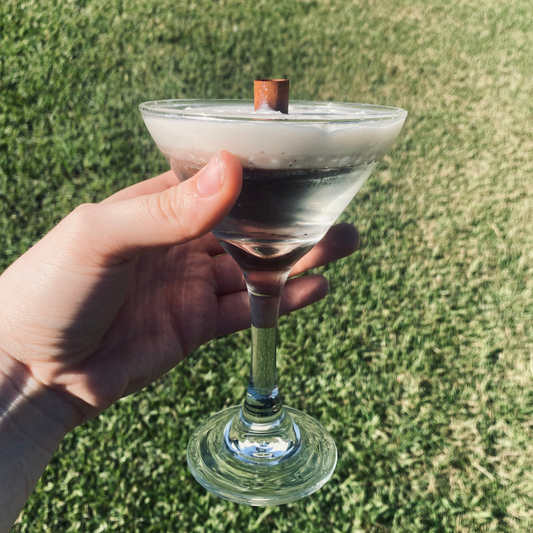
The Noir Full Glass
Regular price $35.00 USDRegular priceUnit price per -
 Sold out
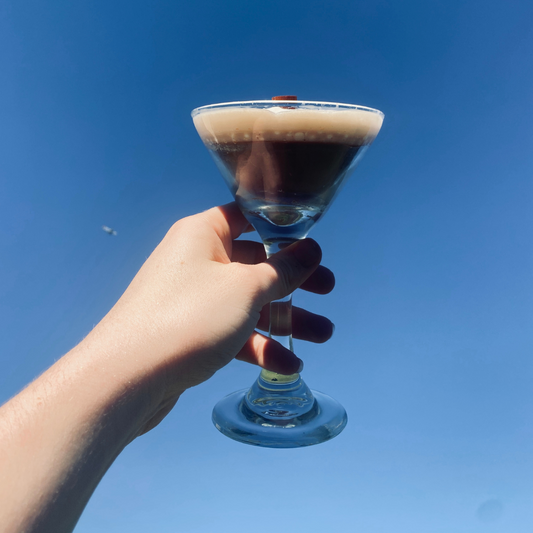
Espress-tini Full Glass
Regular price $27.00 USDRegular priceUnit price per -
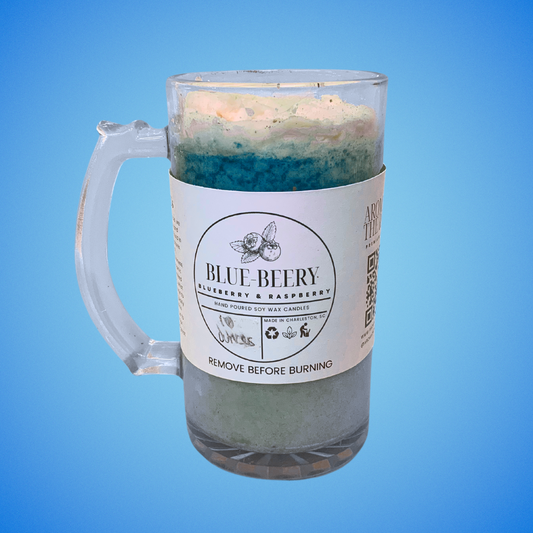
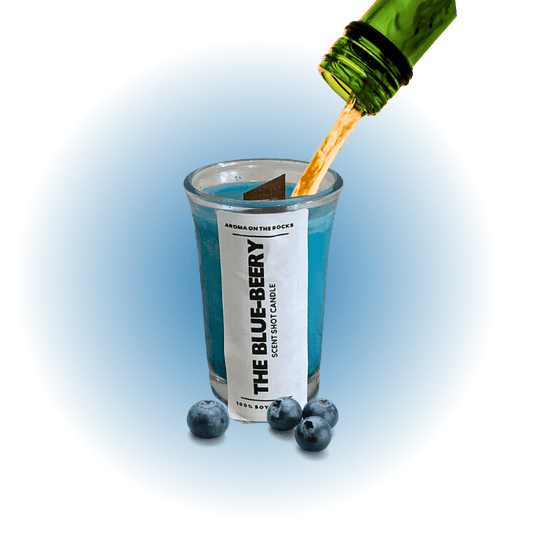
Blue-Beery Full Glass
Regular price $27.00 USDRegular priceUnit price per -
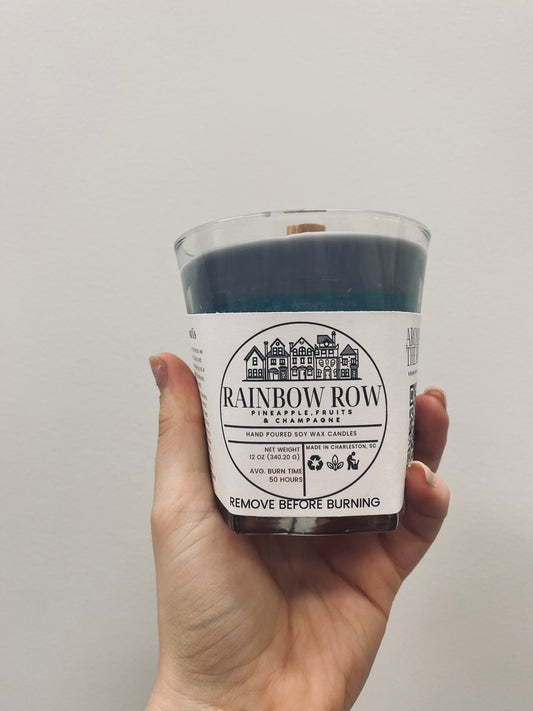
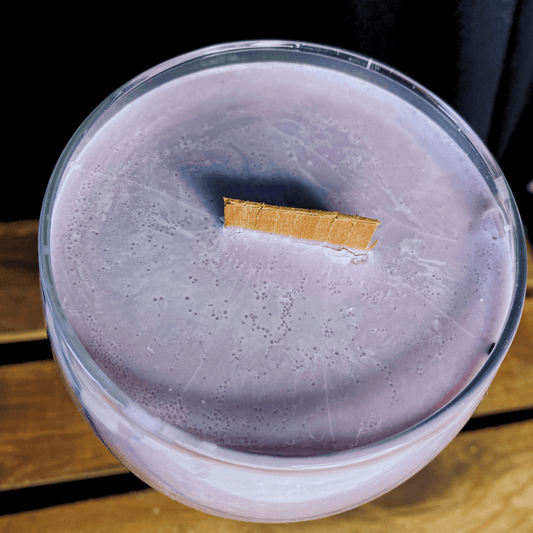
Rainbow Row Striped Mocktail Candle (Full Glass)
Regular price $25.00 USDRegular priceUnit price per -
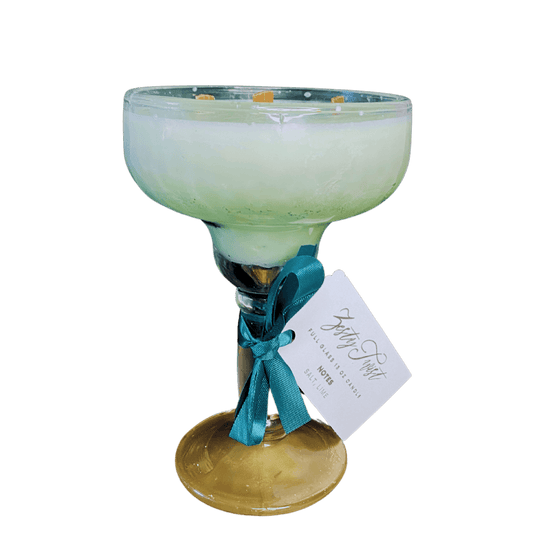
Zesty Twist Full Glass
Regular price $25.00 USDRegular priceUnit price per -
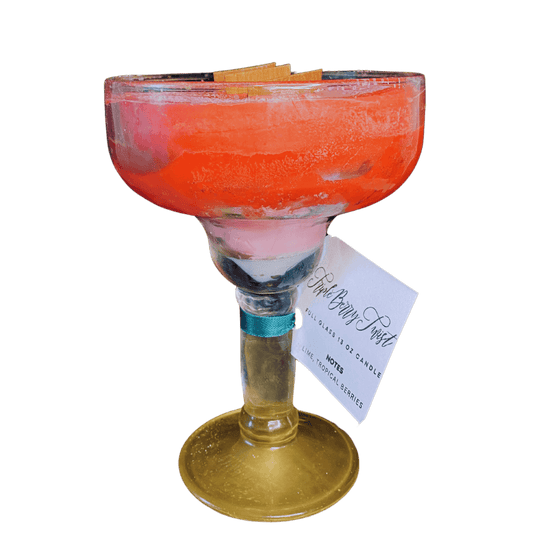
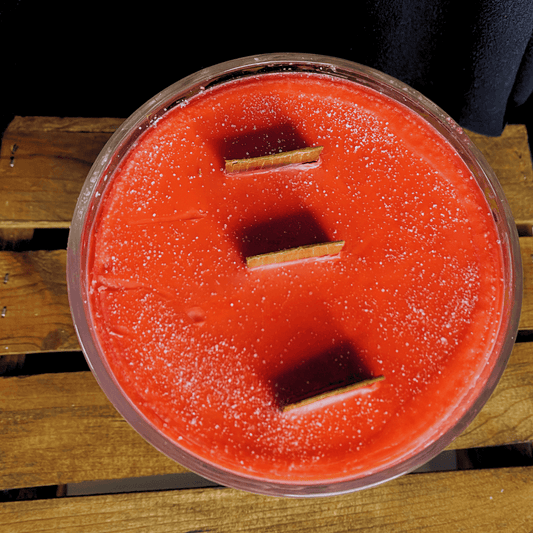
Triple Berry Twist Full Glass
Regular price $25.00 USDRegular priceUnit price per -
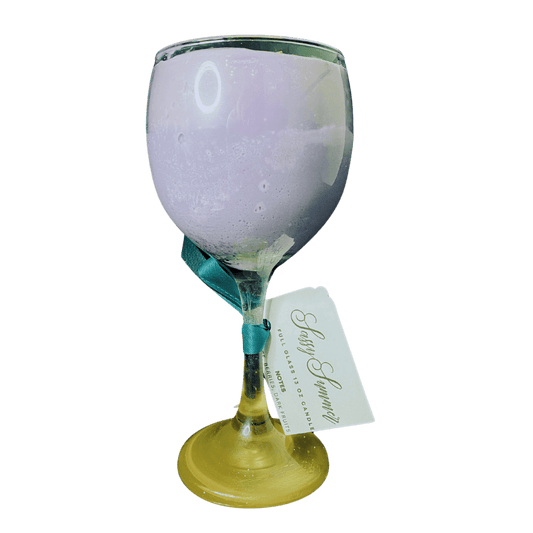
Sassy Summer Full Glass
Regular price $25.00 USDRegular priceUnit price per -
Fruity Spirits Half Flight Box (4 Scents)
Regular price $22.00 USDRegular priceUnit price per$36.00 USDSale price $22.00 USDSold out -
Sweet Florals Half Flight Box (4 Scents)
Regular price $22.00 USDRegular priceUnit price per$36.00 USDSale price $22.00 USDSold out -
 Sold out
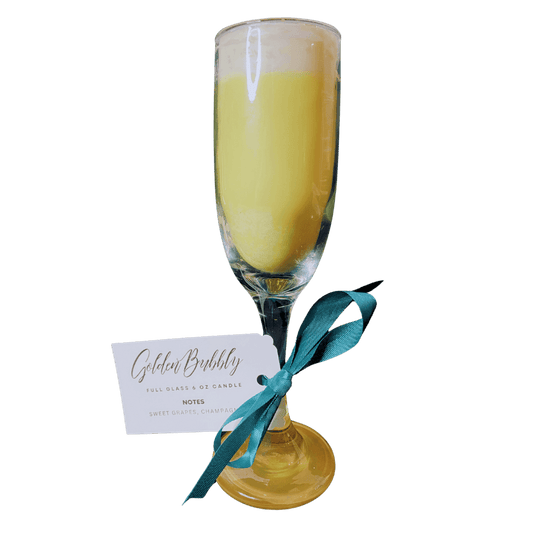
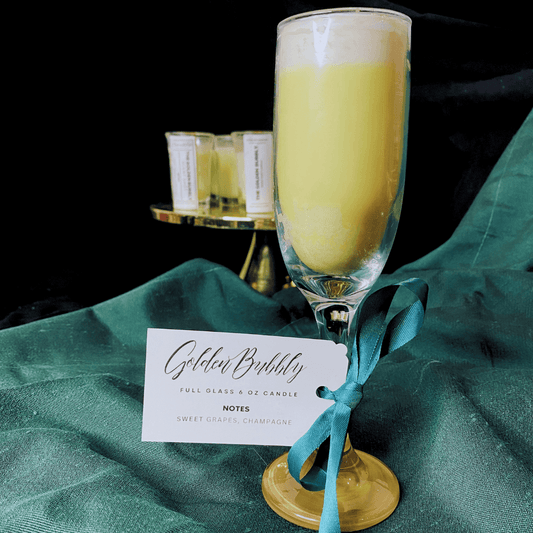
Golden Bubbly Full Glass
Regular price $15.00 USDRegular priceUnit price per -
 Sold out
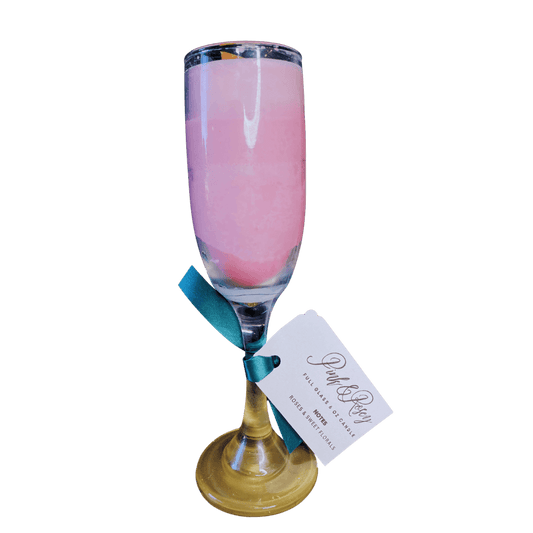
Pink & Rosey Full Glass
Regular price $15.00 USDRegular priceUnit price per -
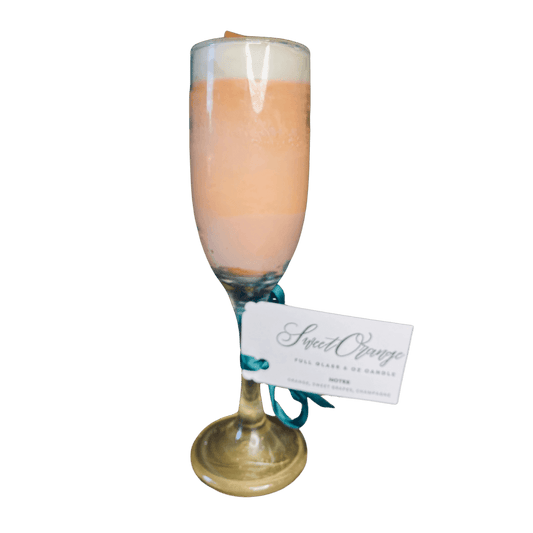
Sweet Orange Bubbly Full Glass
Regular price $15.00 USDRegular priceUnit price per -
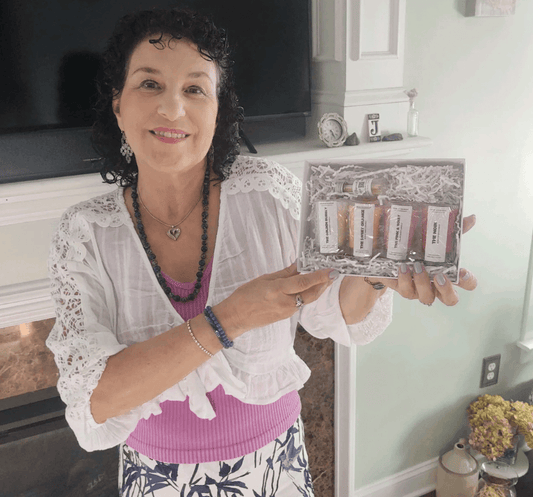
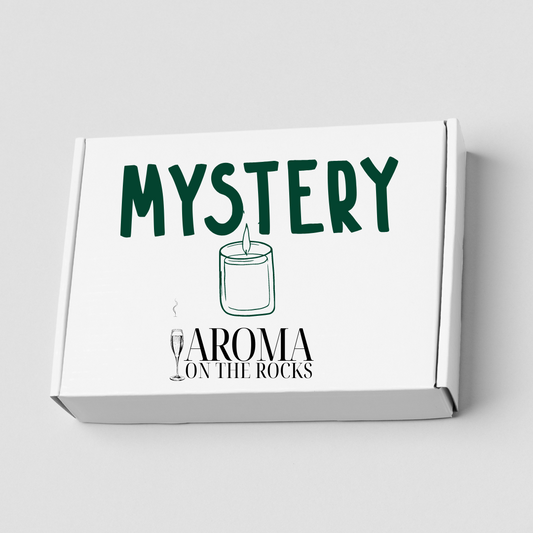
Mystery Drink Candle Gift Box
Regular price From $10.00 USDRegular priceUnit price per -
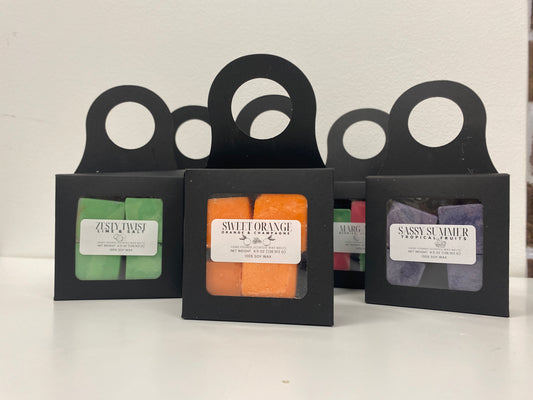
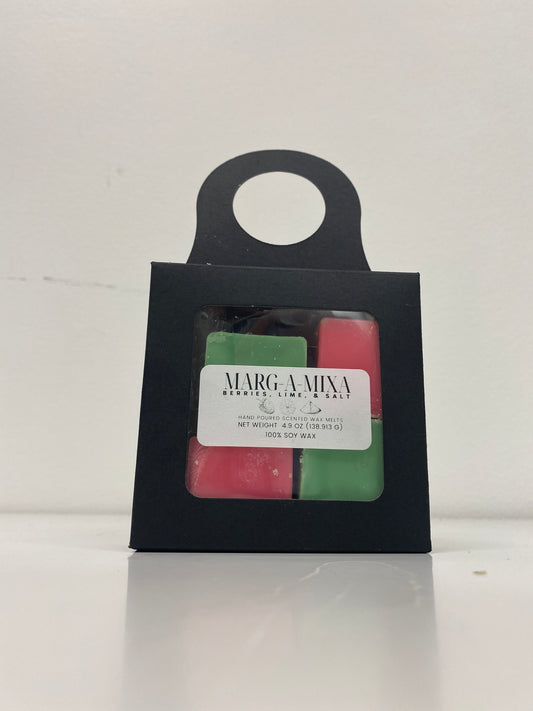
Marg-A-Mixa Scent Cube Wax Melts
Regular price $8.00 USDRegular priceUnit price per -
 Sold out
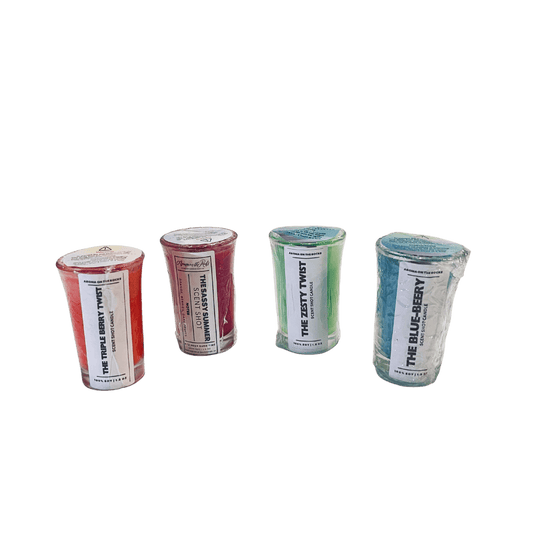
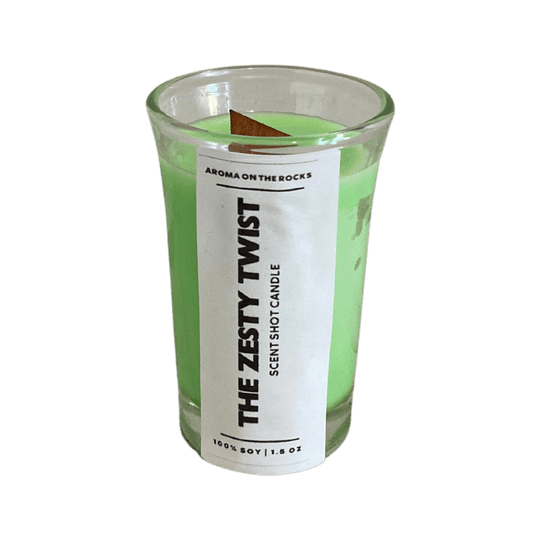
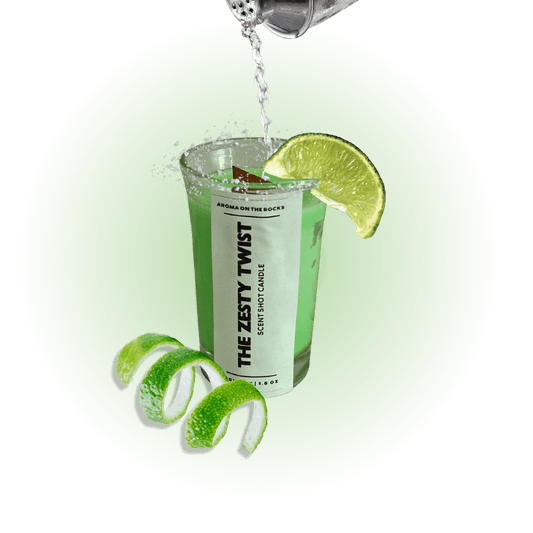
Zesty Twist Scent Shot
Regular price $6.00 USDRegular priceUnit price per -
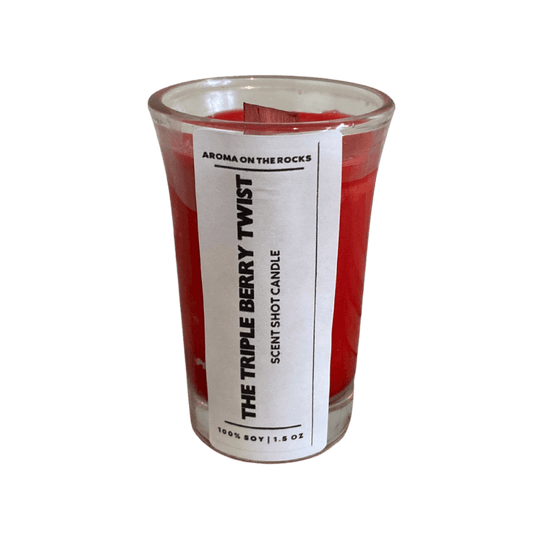
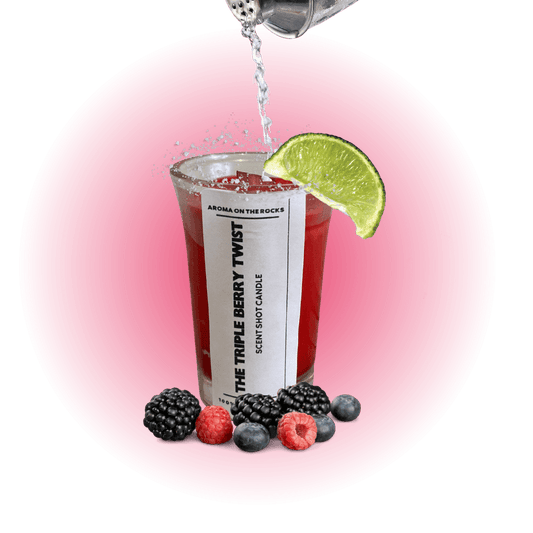
Triple Berry Twist Scent Shot
Regular price $6.00 USDRegular priceUnit price per -
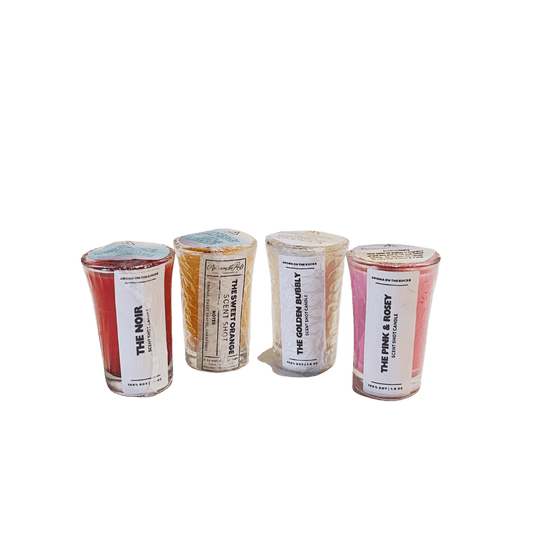
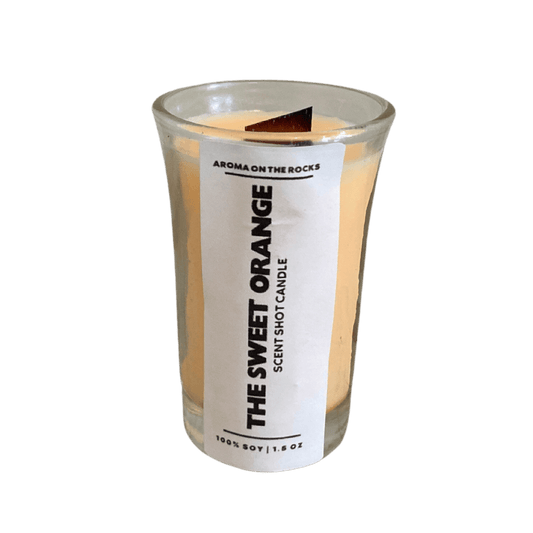
Sweet Orange Scent Shot
Regular price $6.00 USDRegular priceUnit price per -
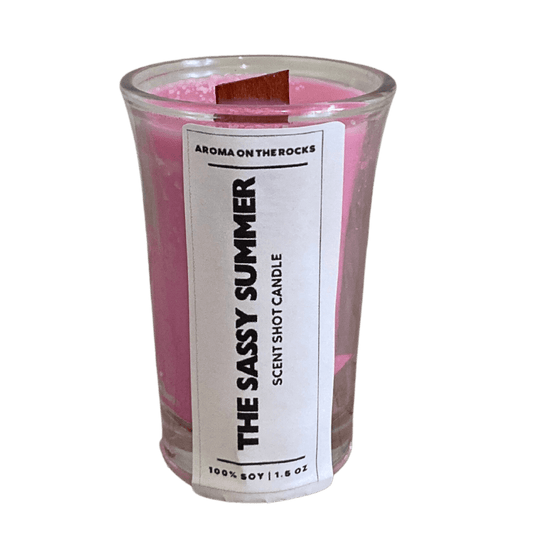
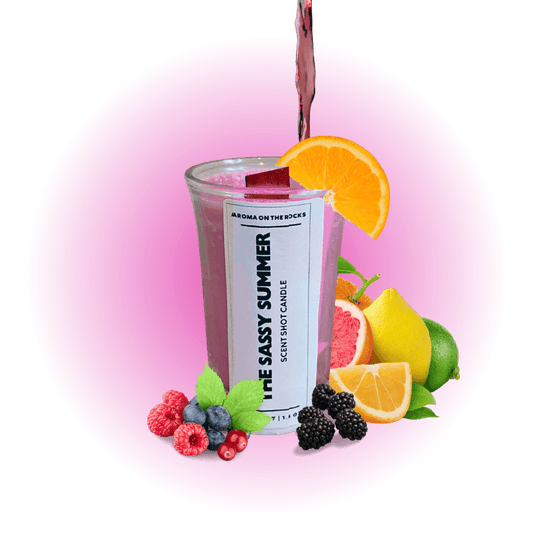
Sassy Summer Scent Shot
Regular price $6.00 USDRegular priceUnit price per -
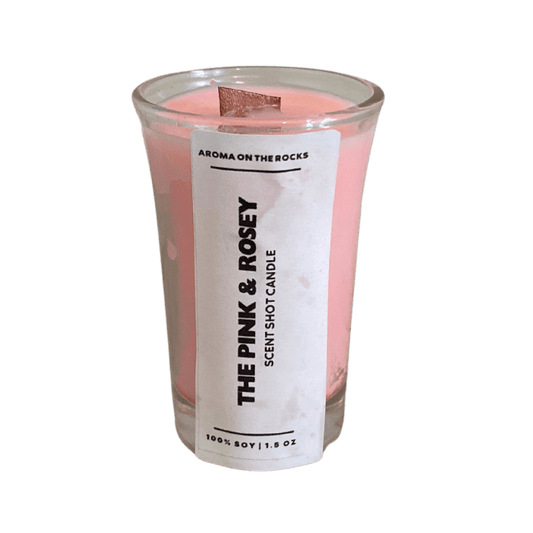
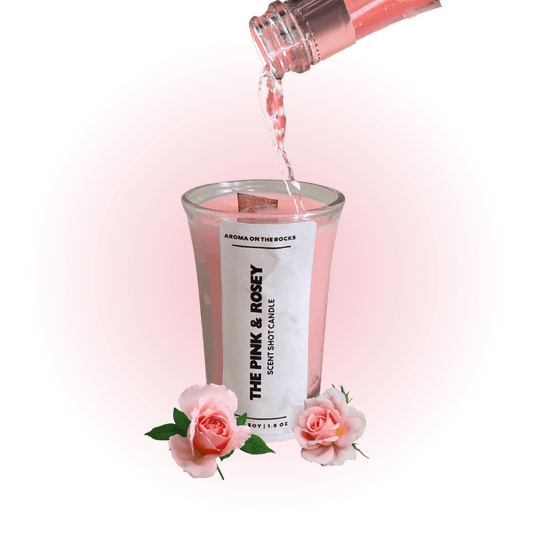 Sold out
Pink & Rosey Scent Shot
Regular price $6.00 USDRegular priceUnit price per -
 Sold out
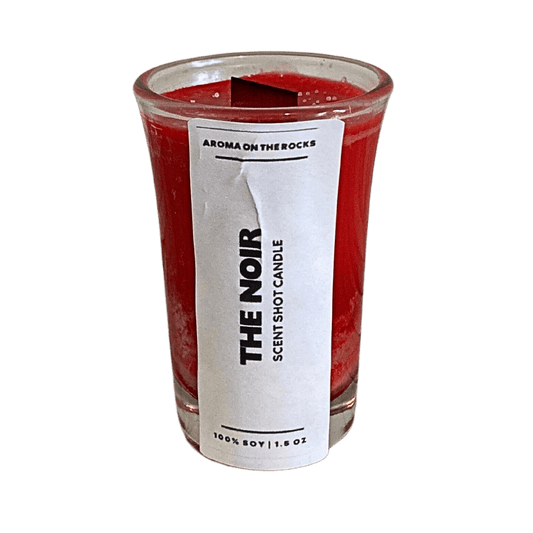
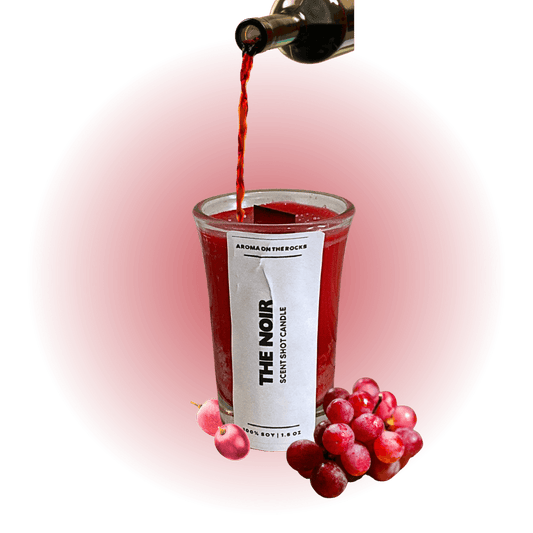
The Noir Scent Shot
Regular price $6.00 USDRegular priceUnit price per -
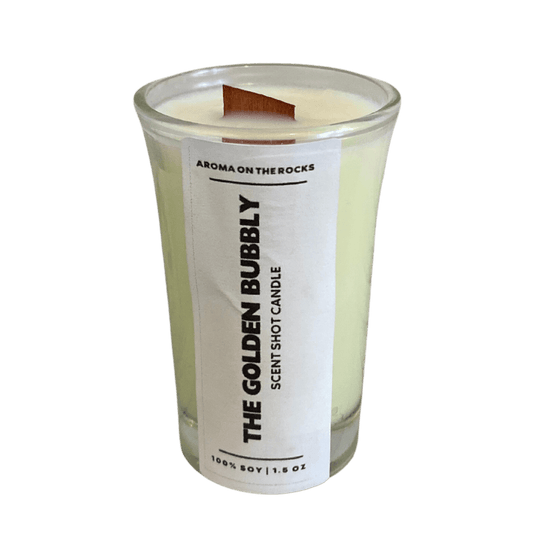
Golden Bubbly Scent Shot
Regular price $6.00 USDRegular priceUnit price per -
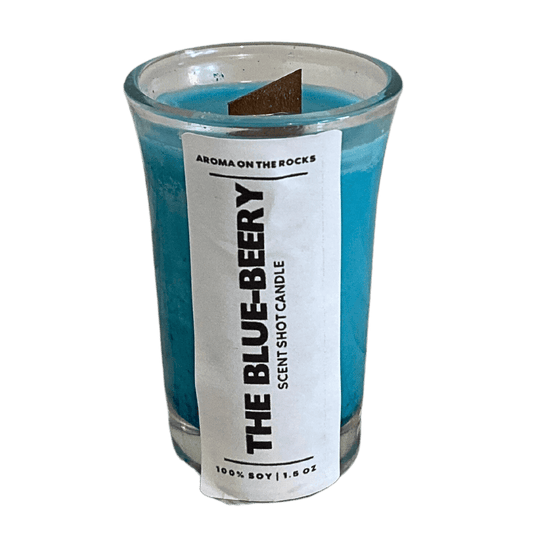
Blue-Beery Scent Shot
Regular price $6.00 USDRegular priceUnit price per